how-to-photograph-wood-flooring


Wood Floor Trends

How To Photograph Wood Flooring

Rob Patwary

Rob Patwary

May 25, 2022

Whether you’re a lifestyle blogger, a homeowner recording your renovation journey or a business owner who wants to share some images of your space for marketing purposes, it’s important to ensure that you are producing the best photographs to truly capture the beauty of your property.

Specifically when we talk about taking photos of wood flooring, poorly taken ones can make your floors look cheap, dirty and even discoloured so it’s important to take the time to

Here are some of our top tips for taking photos of wood flooring for both domestic and commercial properties:

GET THE BEST EQUIPMENT

In this day and age, we are lucky to carry handheld cameras with us in our pockets thanks to smartphones - and most of them are just as good, if not better, quality than digital cameras.

With that being said, if photography plays a major role in your life or business then you should invest in the best equipment for the job.

This means a good camera, lighting (if necessary) and any other tools required for your photography attempts; it may even extend to hiring a professional photographer who already has all the best equipment and knows how to use it.
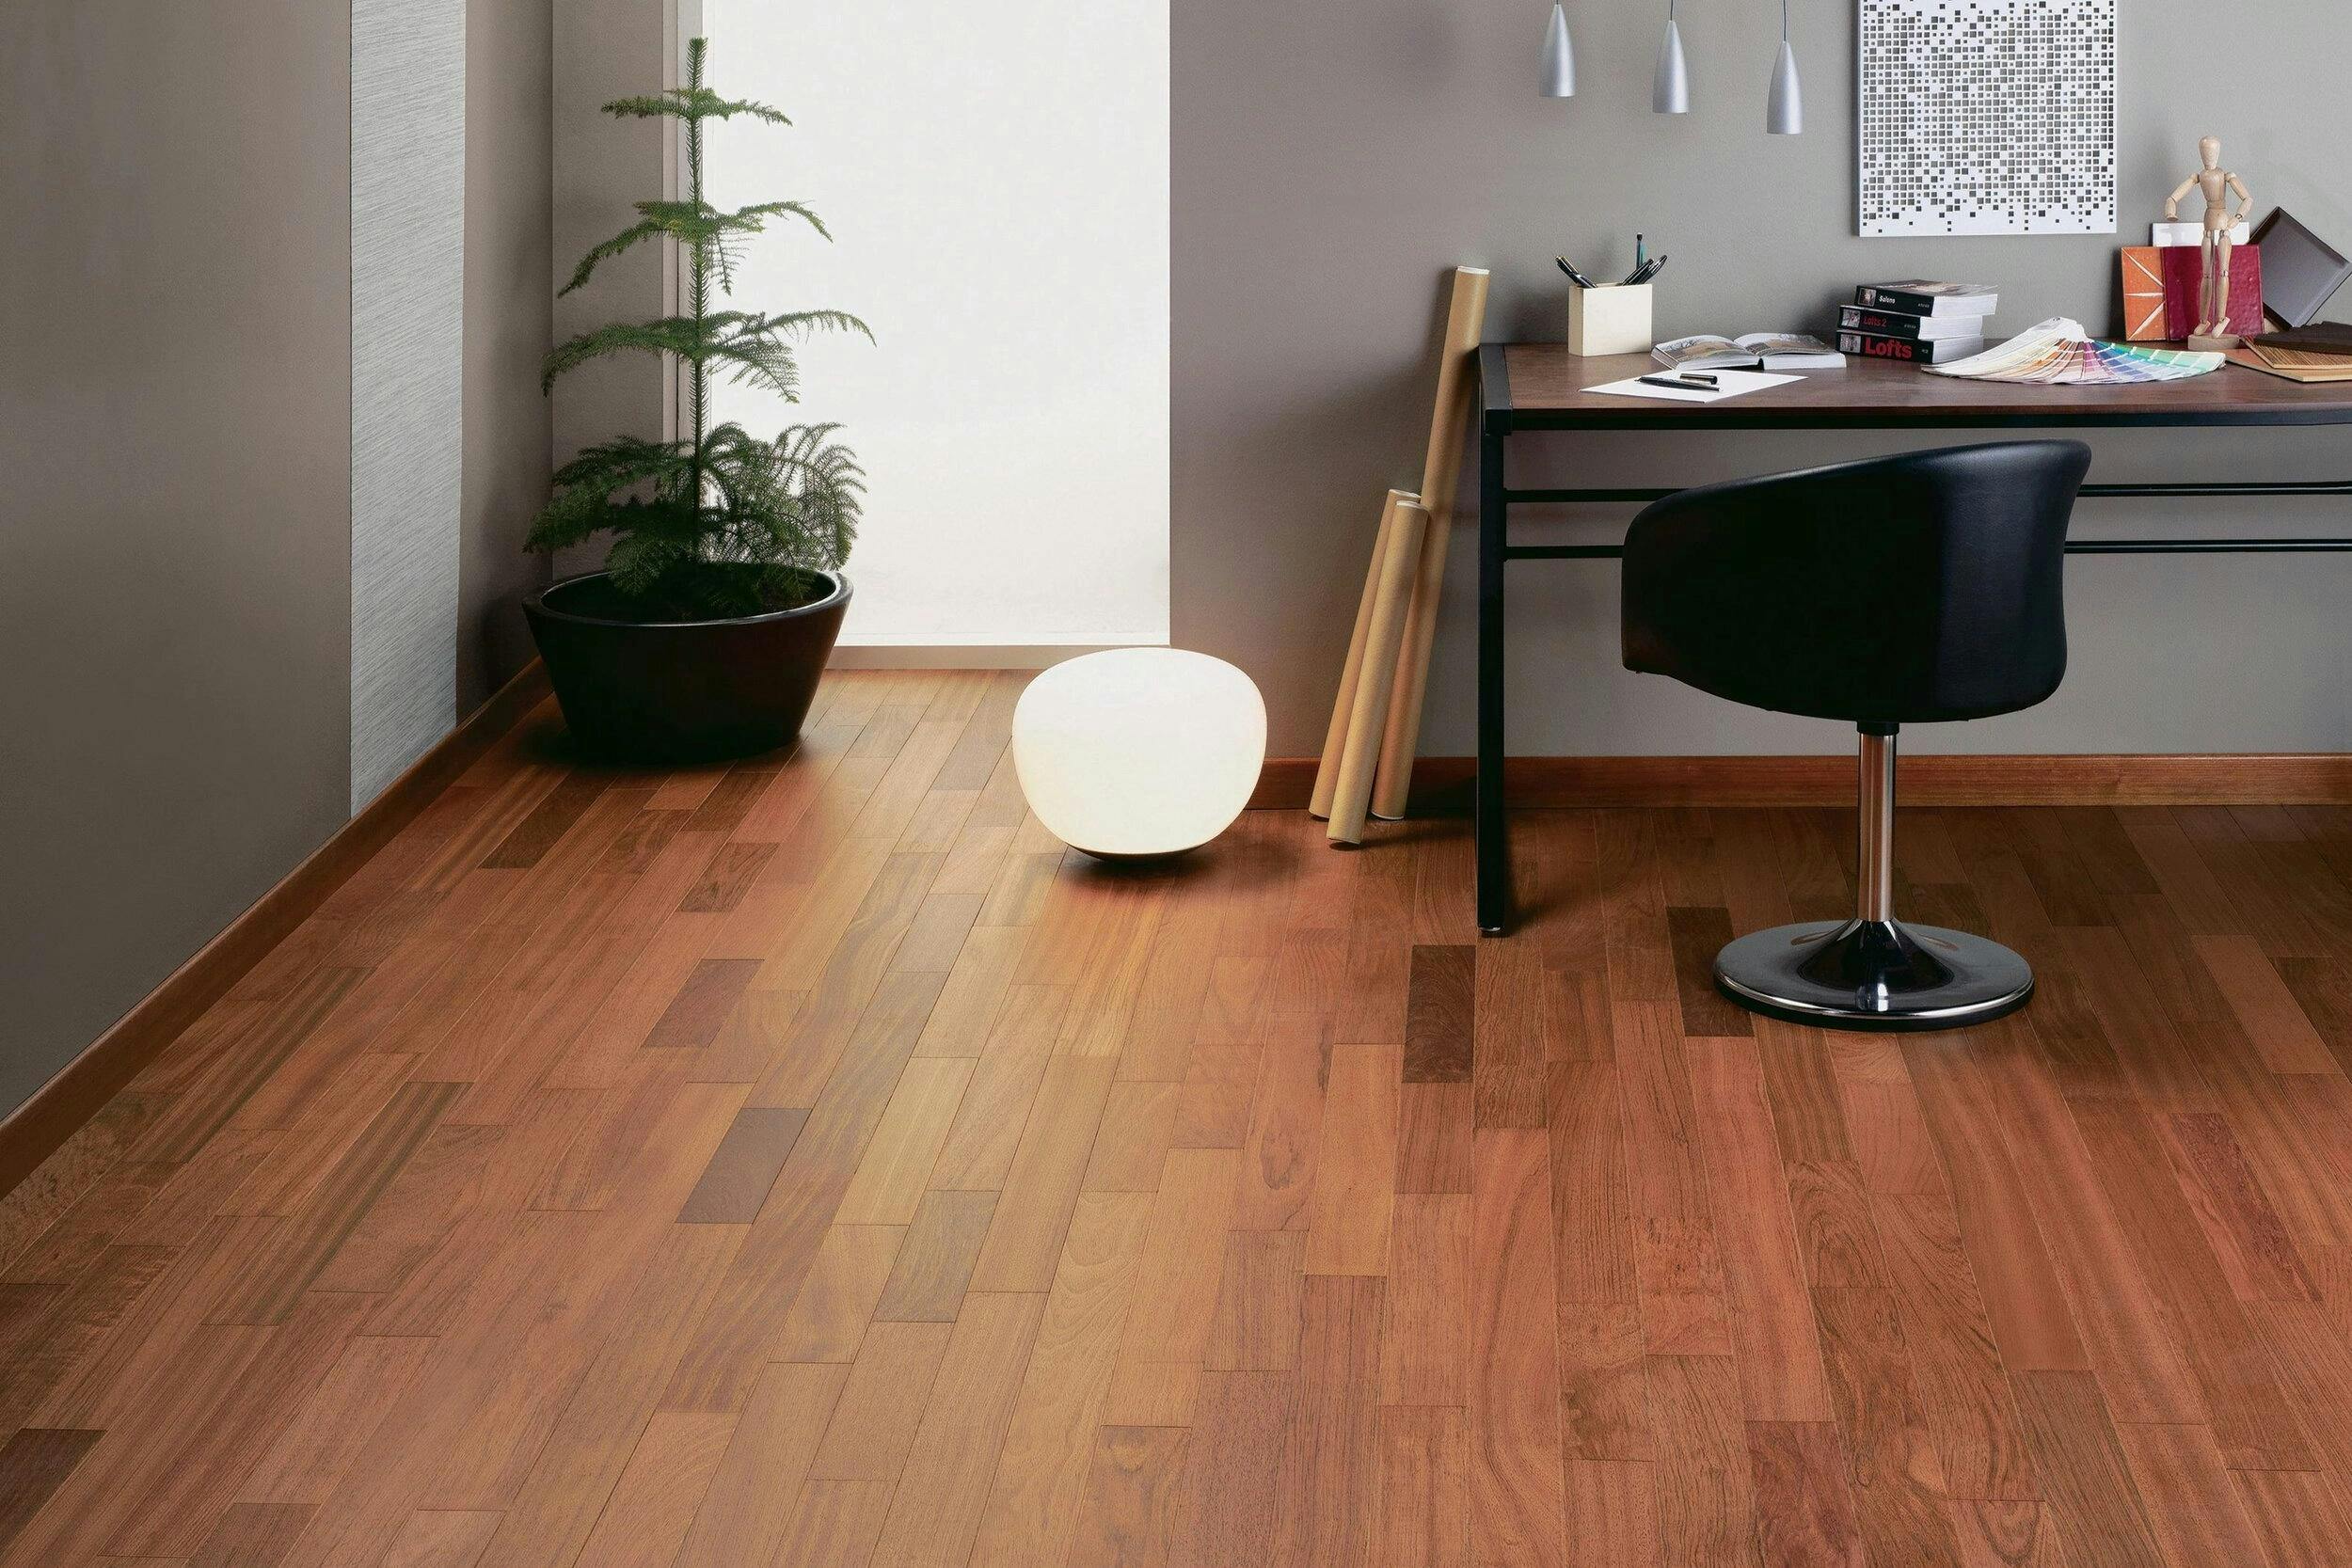
USE NATURAL LIGHT

Natural light will not only provide the perfect ambience for the photo, but it will allow you to pick up the true colour of the wood floors which often gets distorted when seen in yellow, artificial light.

One of the best times of day to take photos is known as ‘golden hour’ which is the time of day just after sunrise or just before sunset when the daylight is softer and redder than when the Sun is higher in the sky.
This will lessen the chance of any glare or unwelcome shadows from appearing in your photography.

If the space being photographed doesn’t have access to a lot of natural light, or any at all, then utilise whatever is available to you, such as artificial lighting already installed in the room or professional white lights.

You can then use photo editing tools to adjust the image accordingly and give it the most natural look.

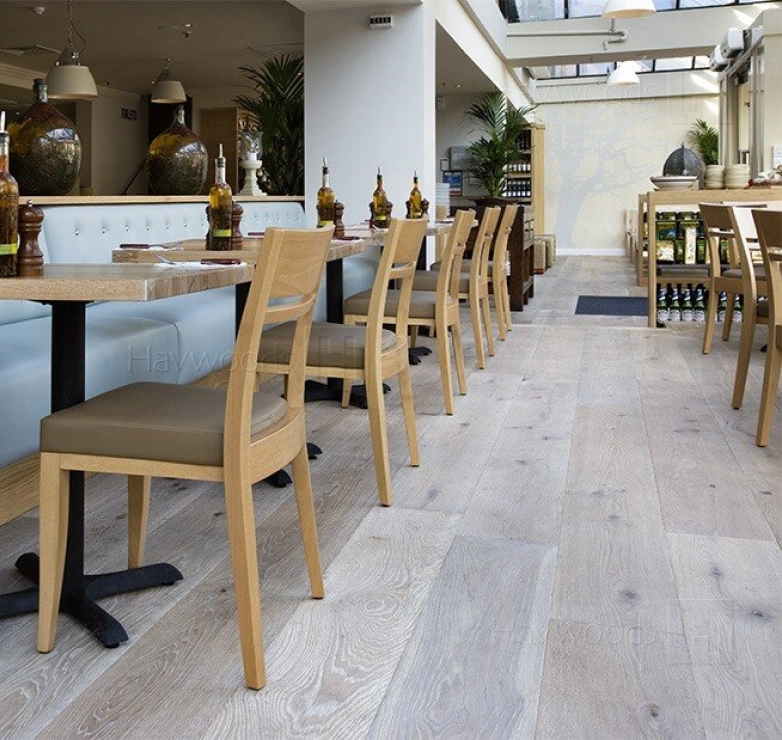
MAKE SURE THE FLOOR HAS BEEN CLEANED

It may sound obvious but there should be some preparation before going ahead and taking photos of your wood floors. This should involve you cleaning your floors to remove any dirt or dust and checking for any scuffs or marks that could be visible in the photos and difficult to edit out.

Unfortunately, if your flooring is quite old and worn, even discoloured slightly, then you may want to consider refinishing it before you start taking photos.

This will remove any damage and have your wood floors looking as good as new - more information on refinishing hardwood flooring can be found here.

We also provide a refinishing service where we can send out our professional fitters to sand down and finish your hardwood floors so that you can rest assured they will look perfect when it comes time to take photos.

Inner Space Flooring

COMPOSITION IS KEY

Composition refers to how you arrange various elements within your photo to best suit the goal or core idea of your image. Some of these elements include texture, patterns, shapes and space.

The subject of photographs should always be the focal point which, in this case, would be the wood flooring.

Therefore, you should remove any distracting features or anything that is restricting the best view of the floor without making the overall image look plain or boring. This requires you to still ‘dress’ the flooring so that people can see it in full effect (i.e. how it adds value to a room or space as an interior design feature) by incorporating furniture and including the walls and other features of the room in the photo.

The wood flooring is what the photo is about but the surroundings are what will make the flooring look even better and elevate the image.

USE THE HDR FEATURE

HDR stands for High Dynamic Range and it is used to balance out the highlights and the shadows and blend multiple exposures so that your image is all at one level.

It works similarly to the human eye, accounting and adjusting for light and shade, so using this feature when taking a photo will make your image appear more like how it would look to the human eye.

This is important for interior design photos, especially when trying to capture wood flooring, because it will enable you to balance out any bright areas where light is bouncing off of the flooring and causing overexposure with areas that are darker or not well-lit.

To learn more about how you can apply HDR to your photos, follow this link: https://expertphotography.com/hdr-for-real-estate-photography/

CHECK THE FOCUS AND RESOLUTION

When it comes time to start taking the photos, you will need to have a basic level of understanding of photography; the two key terms being focus and resolution.

Image resolution is the amount of detail an image holds with a higher resolution equating to more image detail.

If you photograph something in low resolution then it will be a lower quality image which isn’t usually a problem for small photos being used digitally. However, if the photo is going to be enlarged or printed, then you will want it to be a high-resolution otherwise it will become pixelated. Further tips on how to take a high resolution photo can be found here: https://www.picturecorrect.com/tips/how-to-capture-higher-resolution-photos-with-your-ordinary-dslr/

We would always advise taking photos in high resolution, even if they are not going to be enlarged or printed, so that they can be used in multiple formats and sizes if required further down the line.

The focus of an image goes hand in hand with sharpness, or how clear the image appears. For example, a photo that is blurry would be considered ‘out of focus’.

Since the wood flooring is the focal point of your image, it’s important that this is in focus, even if the background or other objects in the photo are not, as this is where you want your viewers attention to be and you want to provide them with a clear and detailed look at the flooring.

TRY A VARIETY OF ANGLES

Trial and error is also a very important part of photography, as well as understanding that what might work for one subject may not for another.

Getting the right angle can elevate an image even more than the lighting or composition, so it’s crucial that you learn which angles work best by taking photos from various perspectives.

Try taking photos from both a high and low angle, as well as at an eye level, from a birds-eye view and some close-ups so that you can capture the flooring in different lighting and viewpoints leaving you with a range of shots to choose from.

You should also keep in mind that an angle which works well for dark parquet flooring may not be the best angle for light grey, traditional oak flooring, so you need to try a variety of angles on all flooring types and colours until you find what works for you on each one.

We may not be photography specialists but we certainly are experts when it comes to wood flooring.
From sourcing the best quality hardwood floors from around Europe to installing them with our professional fitting service, we can ensure that you’re left with wood floors that look great in every photo.

Take a look through some of our customer testimonials to see exactly what we could do for you!

If you would like any more information about prolonging the loft of your wood floors, or if you are interested in any of our products or services then call us today on 0121 684 4772 or email info@innerspaceflooring.co.uk